What your bird should be able to do
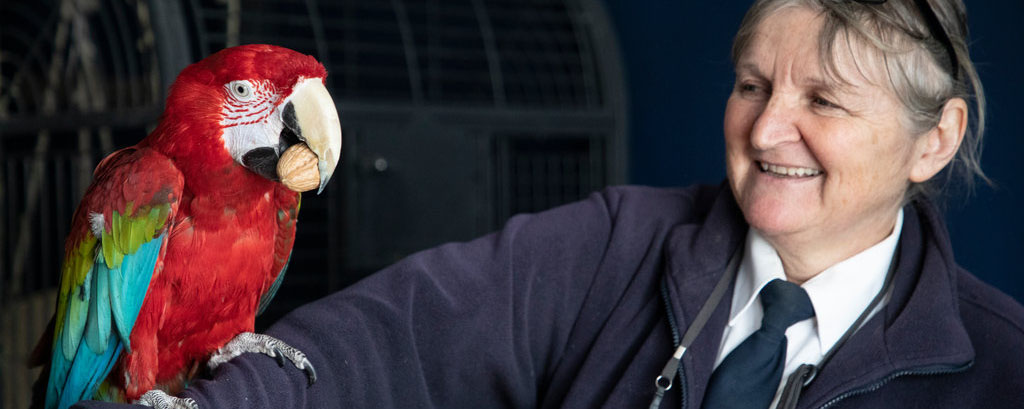
You should be able to teach your bird to step on and off your hand or a small hand-held stick when you ask them to. You can also train them to fly to you or to other places, such as their cage or perch. A bird who can do these simple things is much easier to look after when out of their cage.
Your bird should be trained to accept being transported, to have health and weight checks and to have their claws trimmed.
The training basics
As your bird’s main carer, you should have a positive, friendly relationship with your bird. They should know you well and like to be with you. They will need to be out of their cage, interacting with you and enjoying other activities, such as playing with toys, for at least six hours every day.
When you start training, make sure your bird is comfortable, and always go at their pace. Stay calm, avoid fast hand movements and stop if your bird seems distressed.
In this order, aim to teach your bird these commands by following the ‘Dos’ and ‘Don’ts’ below:
- “step up/go down”, to step onto and off your hand or a hand-held stick or perch
- “stop” or “stay”, to wait before either walking or flying towards you
- “on here”, to fly to you
- “go”, to fly to another place, such as their cage or stand.
Do's
- Keep eye contact with your bird when they are out of their cage.
- Use gentle repetition to encourage the behaviour you want.
- When your bird does the right thing, reward them.
- Rewards should be something your bird particularly likes, such as:
- favourite foods
- gentle head scratches
- access to a favourite toy
- When giving a reward, always also praise them in a soft, encouraging voice.
- Give rewards and praise as soon as your bird has done, or tried to do, the thing you want.
- Keep your training sessions playful, relaxed and soothing.
- If your bird does something you don’t want – perhaps reacting aggressively or biting – just stay calm and go out of their sight for a couple of minutes. Then come back and restart the training as soon as possible.
Don'ts
- If something goes wrong, it can make matters much worse if you try any sort of punishment, such as putting the bird back in their cage, or telling them off.
- Don’t carry your bird on your shoulder. You won’t be able to keep eye contact or read their body language. There is also a risk they will bite your face, ears or lips, or may be carried outside by mistake and fly away.
- Avoid loud noises and sudden movements, which can frighten your bird.
- Don’t let strangers go near or handle them, unless your bird first shows an interest in them.
- Beware of online guidance on training birds, which isn’t always reliable. Instead, look for a good book on the subject.
Getting ready for transport
Once your bird is tame and can follow the basic commands above, you can start getting them ready to use a carrier. You’ll need to do this gradually through two or three short training sessions a day over several days, as birds can be suspicious of new objects appearing suddenly near their cage or in the aviary. You want to get them to the point where they will walk into the carrier or be happy to step into it from your hand or a hand-held stick.
Choose your carrier type
There are two types of carrier you can use. Whichever you go for, there should be a rigidly fixed perch near the floor, or the floor should be lined with thick, pale-coloured cloth for your bird to grip.
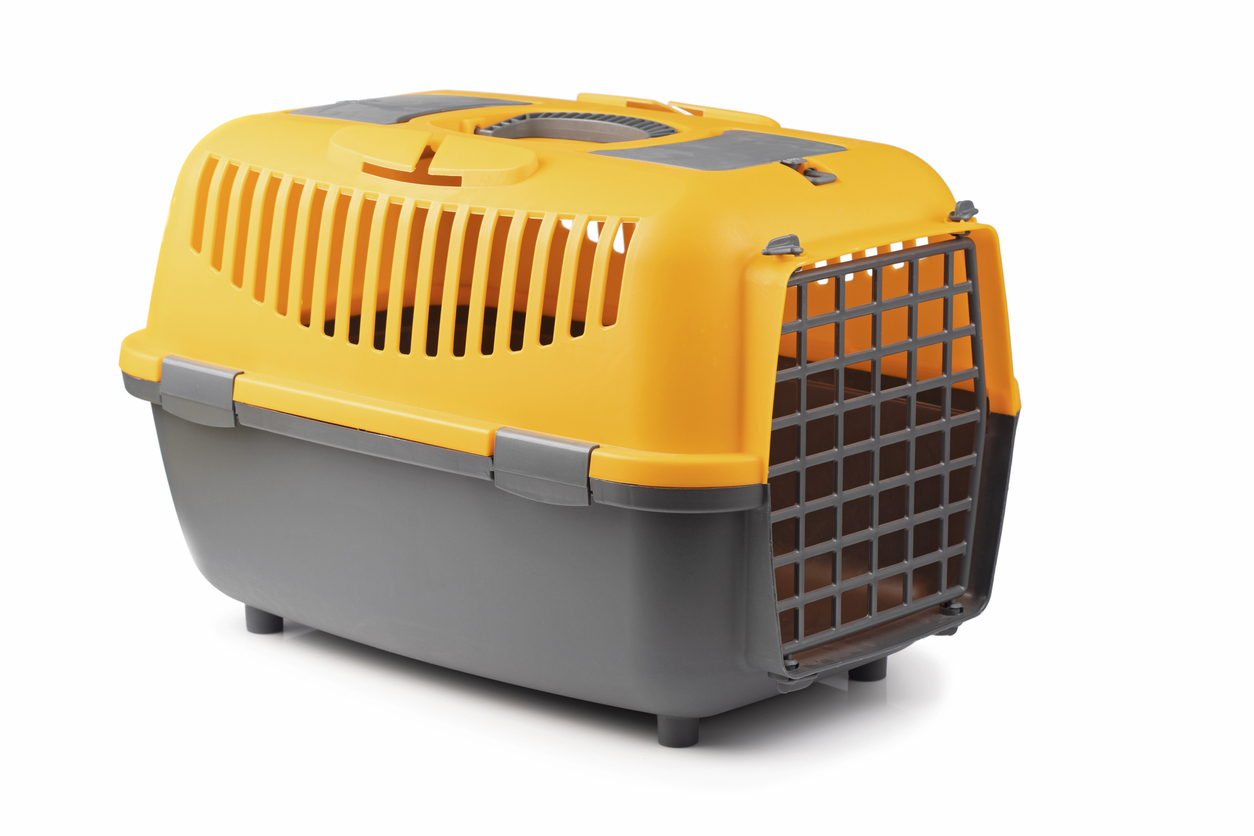
A suitably sized plastic pet carrier
-
Some birds prefer these, as they are like a nesting box
-
It might be best to cover this type of carrier up too
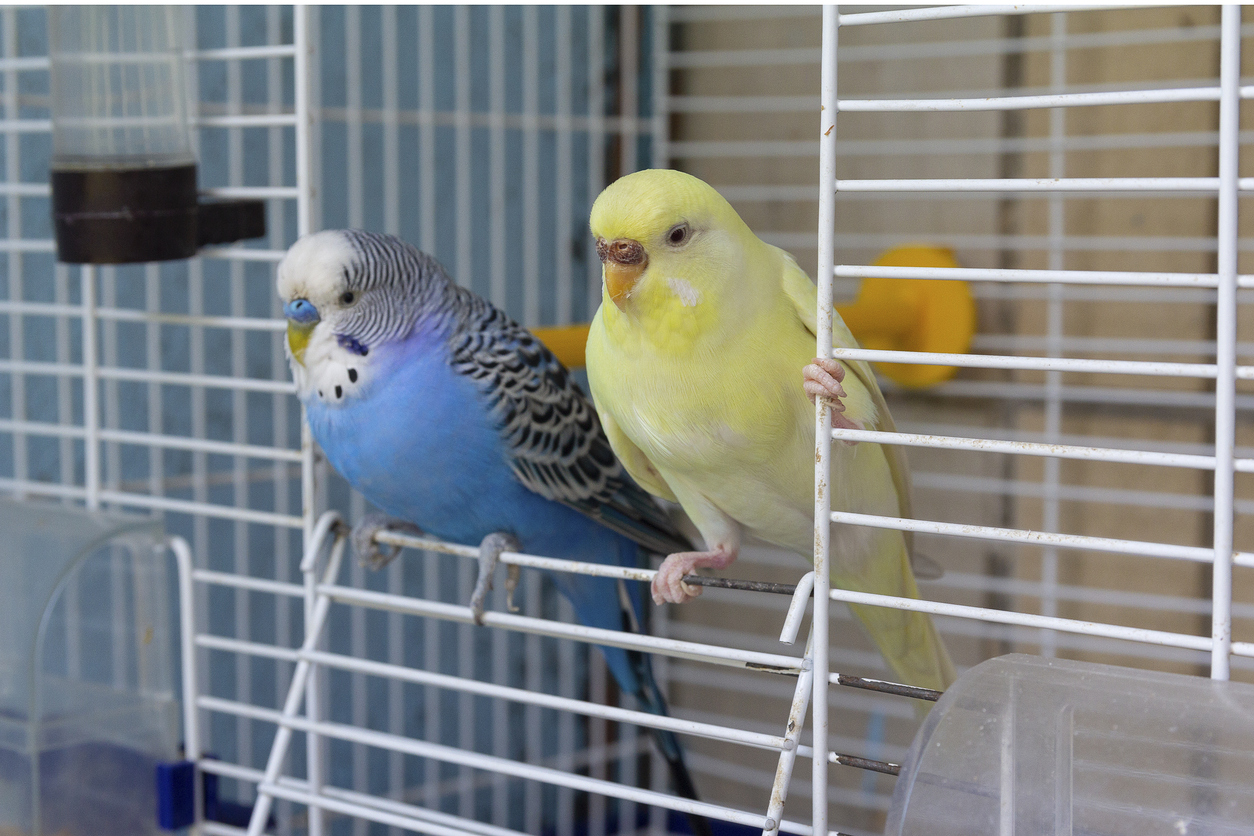
A wire mesh carrier with no solid sides
- Most birds tend to go into these more easily
- Partly cover the roof, back and sides with a pale-coloured towel – birds can be scared of dark-coloured materials and may stay calm if they can’t see much inside
Getting your bird used to the carrier
Follow these steps to help your bird gradually get used to the sight of the carrier.
-
Put the carrier in the same room as the cage, or in your bird’s aviary. Put it at table-top height, but not too near the bird’s usual space.
-
Leave it there for a day or two.
-
With your bird on your hand or a hand-held stick, either in the aviary or outside their cage, walk closer to the carrier. Watch carefully and stop immediately if they seem nervous. Keep walking back towards the carrier until they stay settled. Reassure and reward them when they are calm.
-
Repeat the sessions and, as your bird gets used to being nearer the carrier, reward them again.
-
Once they are happy being close to the carrier, put food rewards between your bird and the carrier. In each new session, put the rewards a little bit closer to the carrier. Give gentle verbal praise when they take the food.
-
When all is going well, put some food inside the carrier itself. When your bird steps inside, don’t close the door. Just let them eat, then ask them to come out onto your hand.
-
Repeat these steps until your bird is confident entering and leaving the carrier.
-
Now you can close the door with the bird inside, but open it again only a few seconds later and ask your bird to “step up” onto your hand. Give lots of verbal praise.
-
Repeat the sessions, gradually increasing the time with the door closed to a few minutes with the bird inside.
Now that your bird is comfortable inside the carrier, they need to be able to cope with it being moved. Follow these steps to build up their confidence gradually.
- Very carefully lift the carrier for a few seconds, then lower it back to where it was.
- Over a number of sessions, move the carrier a bit more. Put it down in other places. Then return it to where you started, open the door and ask your bird to “step up” onto your hand or hand-held stick again.
- Keep talking gently to your bird through these sessions. Always move the carrier slowly and put it down gently.
- Keep going back to refresh your bird’s training, so you know they are still comfortable going into the carrier.
Getting your bird used to the carrier
When transporting your bird anywhere in the carrier, such as to the vet’s, there are some important steps you need to take.
- Keep your bird very warm and in near darkness.
- If the weather is cold and you’re travelling by car, make sure the car is warm inside before putting the bird in it.
- When driving, avoid any sharp cornering, sudden speed changes or braking.
- If the journey will be more than an hour, provide moist foods in a securely fitted container inside the cage, unless your vet advises differently.
- If you have to wait at the vet’s, make sure your bird can’t see any other animals and keep them at table-top level if you can.
Training your bird to be handled for health checks
Your bird must be able to cope with being restrained and handled, so you or a vet can check their body condition and deal with any injuries, illnesses or grooming needs, such as nail-trimming. If you're concerned, ask your vet.
Restraining your bird
Don’t use your bare hands for this, as your bird could become scared of hands. Instead, use a pale-coloured towel for medium to large parrots or a small, soft, pale-coloured cloth for small parrots, parakeets, canaries and finches. Make sure it’s big enough to cover the bird’s head and wrap around their wings, body and feet.
As with the other guidance mentioned, you need to work slowly and carefully to gradually reassure your bird. Working in a room with subdued lighting can help.
- Start with your bird out of their cage, beside you or on your lap, as you play with your towel or cloth. When they start watching what you’re doing, give them a favourite food reward and gentle verbal praise - or scratch their head gently if you know they like this. Do this several times a day, for five minutes at first but you can gradually increase this as your bird gets more confident.
- If all is well, drape the towel over your hand and touch the back of your bird’s head, at the lower jaws, with your covered hand. Once they accept this, continue with the rewards and praise.
- Gradually build up to putting your covered hand around the back of the bird’s head. Your palm should be against their back, your thumb against their lower cheek on one side and your forefinger just below their lower jaw on the other. Only do it for a few seconds at first, then remove your hand and reward your bird immediately.
- Once your bird is comfortable with this, keep your hand in place and then use your other hand to gently wrap the cloth around them, enclosing the wings. After a few seconds, release them and give an immediate reward. Make sure not to put any pressure on the bird’s chest, so they can breathe freely.
- Gradually increase the time the bird is wrapped in the cloth to several seconds and eventually a whole minute. Once your bird is used to this, try lifting them off their perch while they’re wrapped in the towel. Draw out a foot or wing and carefully examine it. Replace it back in the cloth a few seconds later and give a reward. You can try covering your bird’s head briefly with part of the cloth, as this can help calm some birds.
- With small birds, such as budgies and canaries, vets will often use something called the ‘ringer’s grip’. You can try getting your bird used to this by holding their neck within the cloth between your first two fingers, restraining the body with the rest of your hand. Again, take care not to put pressure around the chest so they can breathe freely.
Claw trimming
Now that your bird can accept being restrained in a towel or cloth, it’s time to get them used to having their claws rasped with an emery board or nail file.
- Start by introducing your file carefully and trying just a few light strokes on one claw.
- Release your bird and give them a reward.
- Over more sessions, rasp other claws lightly until your bird is relaxed about the procedure.
Weight checking for parrots
You should check your parrot’s weight on electric kitchen scales every week and keep a note of it. That way, you’ll get to know what their normal, healthy weight is. A change in their weight can mean there’s a health issue and you should tell your vet.
Some birds will be happy to stand on the scales, but some might need training.
- As with the carrier, let your bird get used to seeing the scales over a few days.
- Put some small favourite food items nearby, gradually moving them closer until they are on the scales. With luck, your bird will step onto the scales and eat.
- Your bird might prefer to stand on a familiar perch, such as a small table-stop stand, rather than on the scales themselves. If so, put the stand on the scales and check your bird’s weight, minus the weight of the stand.
- Your bird’s weight may change throughout the day, so it's best to always weigh them at the same time of day.

